Thursday, July 28, 2016

Another Finish for July!!

I've said it before and I'll say it again, there's nothing like a deadline!!
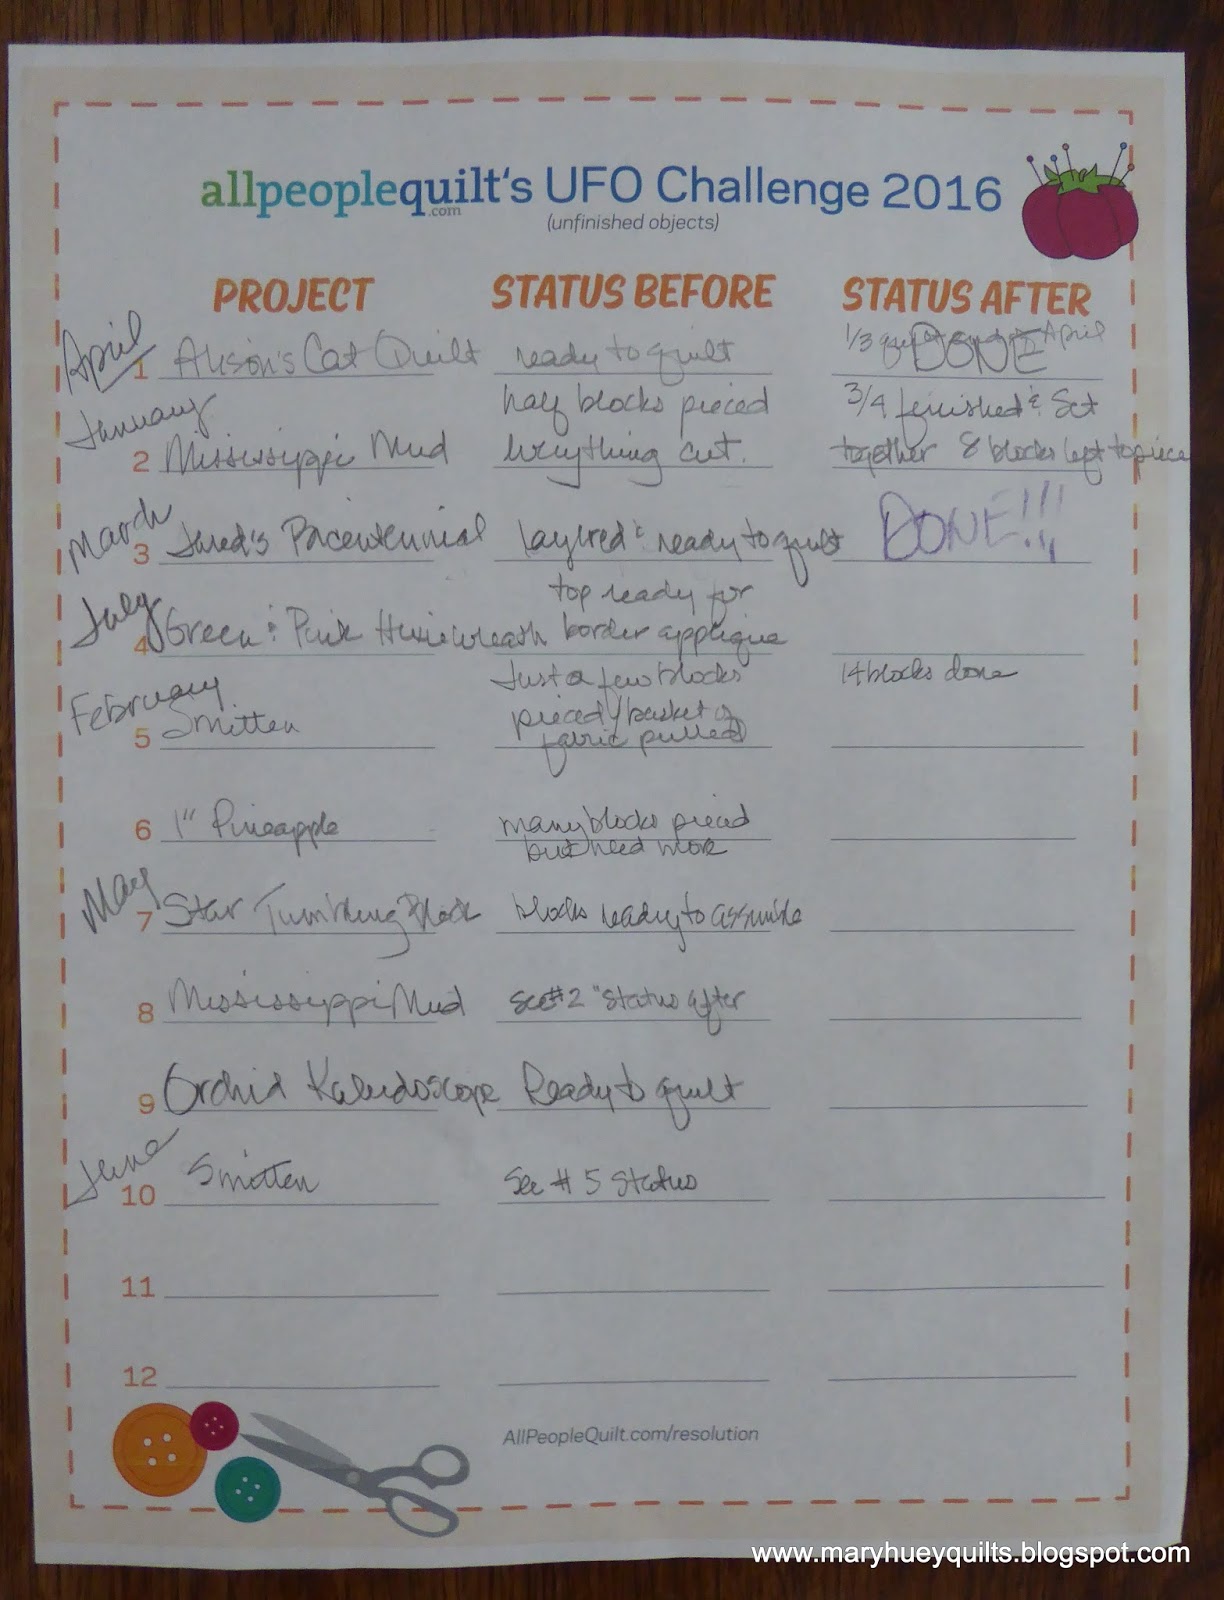
This is my second finish for the third quarter of the 2016 Finish Along!!
I'm still burying thread tails and stitching the binding down, but by the time you read this, it will be on it's way to the Appleseed Quilters Guild in Ft. Wayne, IN to recruit students for my workshop there in October.
I will be in Southeast Ohio cooking for my church's mission team for a week and this is my last task before I leave.

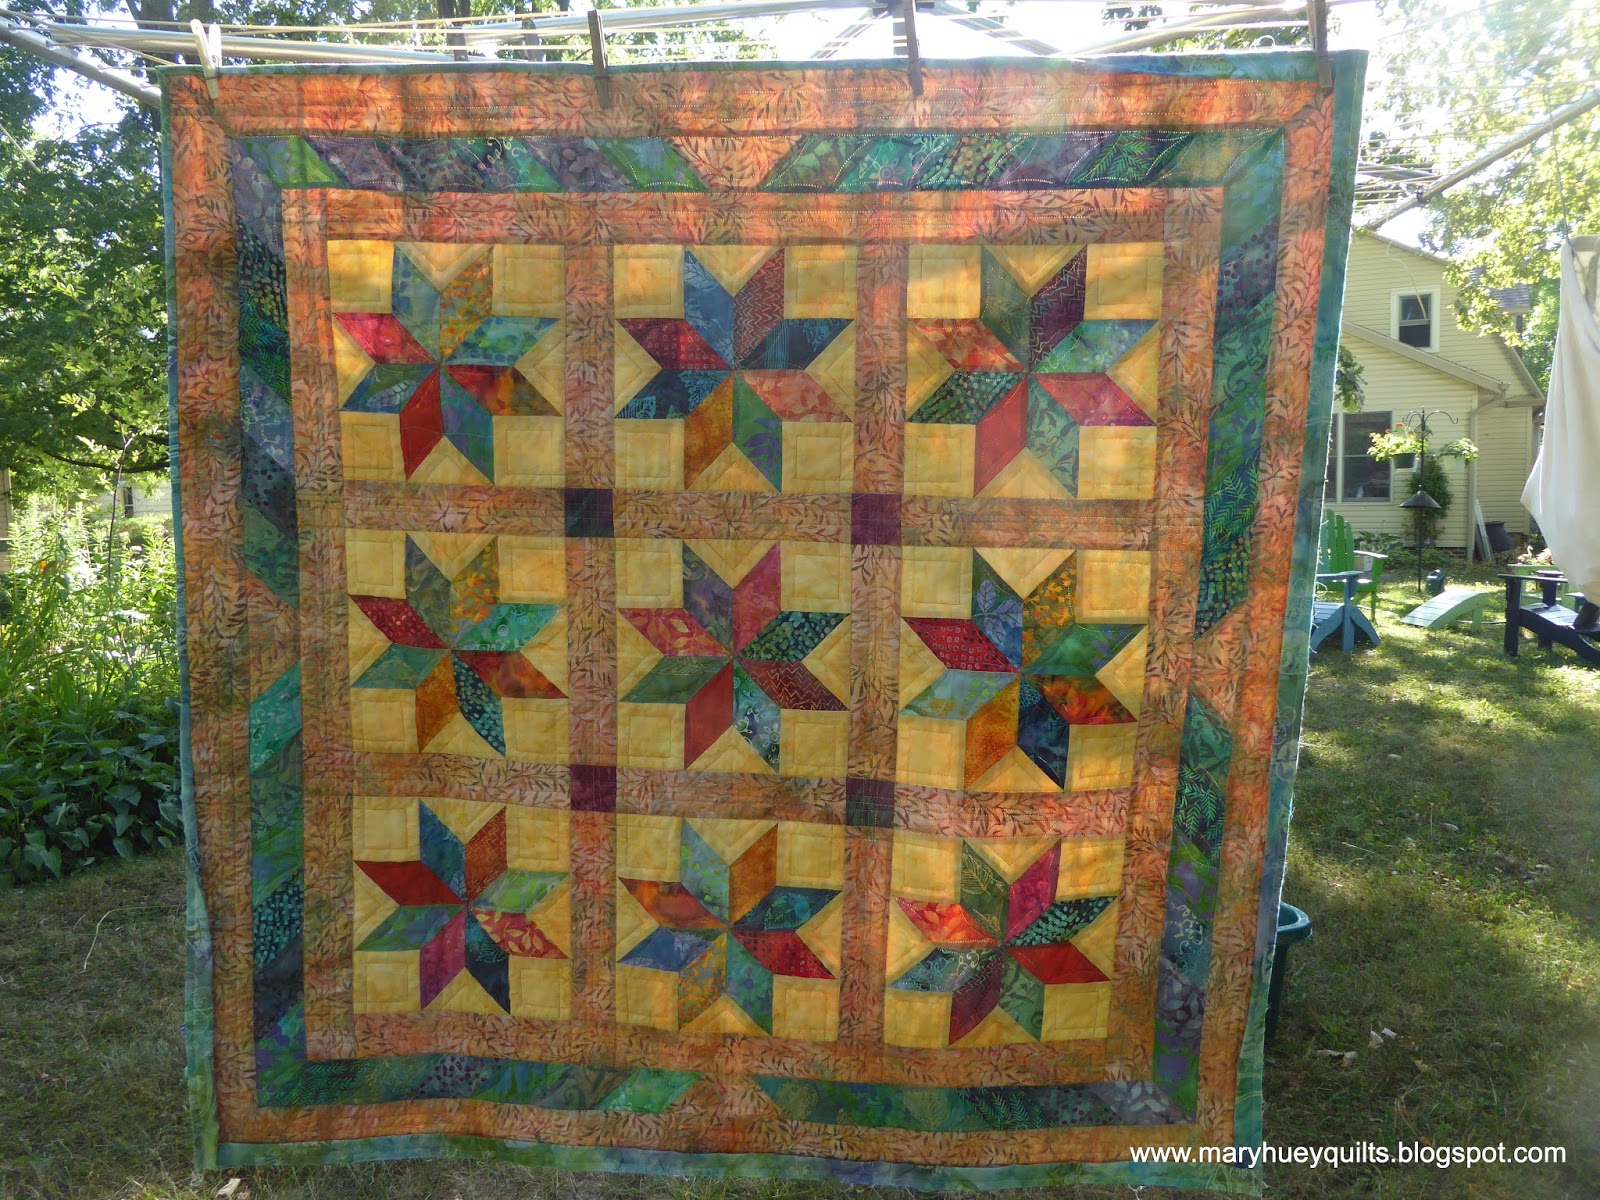
It only took three days to quilt -- I'm not able to quilt for hours on end thanks to arthritis but I can manage two or three hour-long sessions spread through out a day.  My standard design for 8-pointed stars is to do continuous curve quilting around the entire star.
I did some parallel lines through the sashing that intersect in the cornerstones and then took a pause to decide whether and if to quilt the background of the stars.  I didn't like the un-quilted look but it took a day to get inspired.
In the end, I settled on "simple" by expanding a box in each corner to a maze-like design that crosses over the sashing.  I like it!
I practiced the best route to take by finger tracing the design several times and then used my straight line guide for the stitching.  Love that tool!!
Keeping the designs simple meant I was trimming and ready to bind on schedule!
Happily, there was a good batik for the binding on my shelves that repeated the cool colors of blue, green, and aqua in the quilt.
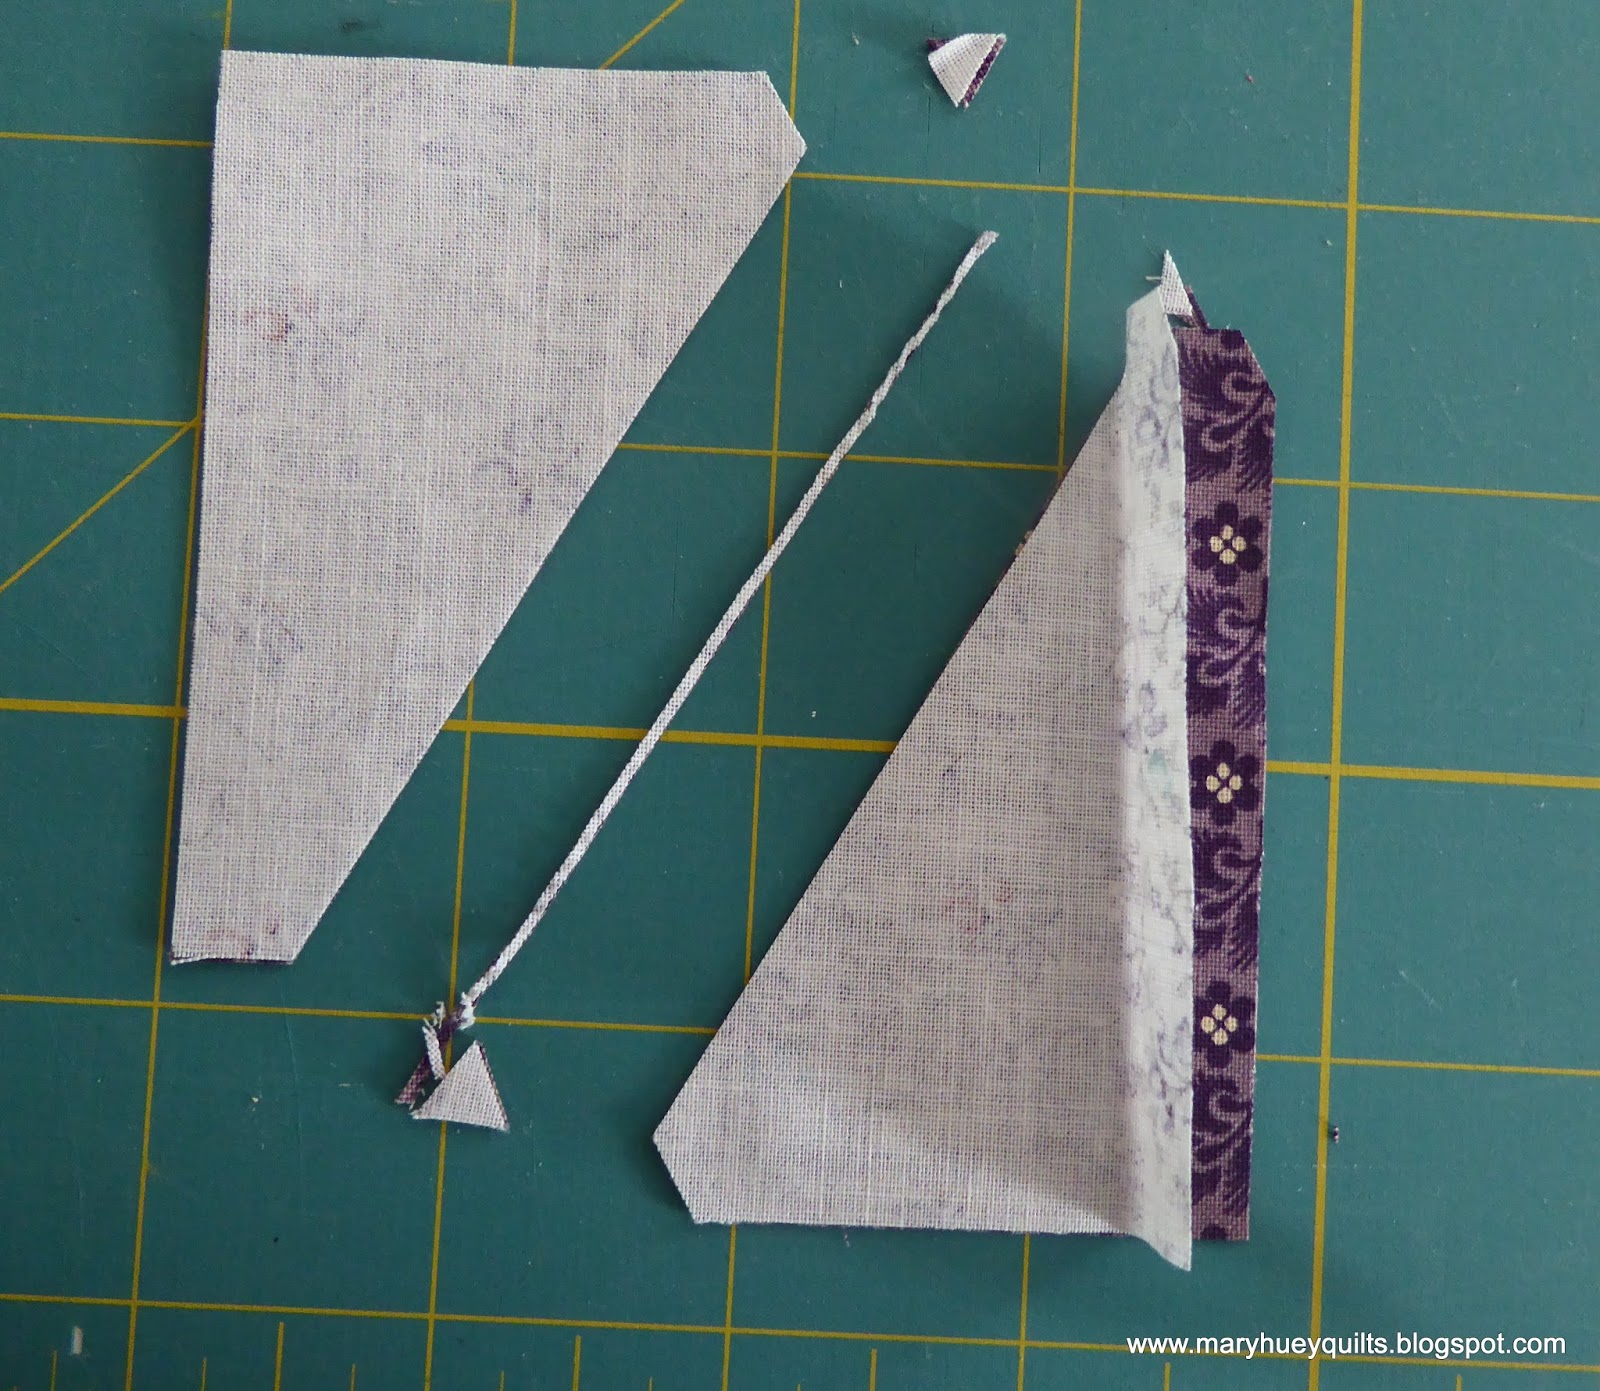
I used Marti Michell's 2 1/2" Stripper Set to create these 9 1/2" stars and assembled them using the Set-In Piecing Simplified technique from my DVD.  Even after 4 years of teaching the technique, I'm still amazed at how consistent and perfect my y-seam blocks are!
If you don't have the DVD yet, you can order it HERE.

I've taken some hand-stitching with me for the week, but I'll be itching to get at my machine come tomorrow morning!!

Mary Huey

Linking up to the third quarter 2016 Finish Along Link-up HERE!!


Monday, July 25, 2016

2016 Mid Year Goals Review

Back at the end of 2015, I looked at past goals and set some new ones for 2016. 
You can check out that post HERE.
Not surprisingly, I forgot about the specifics of them until Yvonne of Quilting Jetgirl reminded me last week that I had linked up with her goal setting collection and invited me to participate in a MIDYEAR REVIEW HERE.
I guess that is a good thing -- not that I forgot, but that I was reminded -- and reviewing progress mid-year gives one an opportunity to evaluate and reassess. 
So . . . . . here goes.
So glad I keep a daily stitching journal!!
"First, I'll try to finish a UFQ each month!"
My thought was to use the APQ Resolution Challenge to stay on track with this goal.  If you study my list closely, the first thing you will notice is there are not 12 projects listed and the second thing you will notice is that two of them (so far) have been relisted because they didn't quite get finished during the first month they won the lottery. 
There are two DONE's -- but not six.
Some progress is better than none and both of the "DONE's" were over 12 years on the shelf!!
"Second, I'm going to try to generate four new twin size scrappy charity quilts."
I've finished two smaller ones.  One is in this box on it's way to the Orlando MQG for their #quiltsforpulse drive!  On track but perhaps I'll modify this goal to "large lap size" quilts.
"Third, I want to get the last half dozen sets of quilt blocks malingering in boxes and baskets pieced into quilt tops."
Hmm, I think I forgot about this one completely though I did take a set of blocks that I made for a workshop that never happened and finish them into a charity quilt.  I also found a couple more piles of blocks during the studio thinning out this spring so I think there are more than six?!? 
This is a good retreat project. 
I need to go on a retreat!! 
Anyone up for a retreat??
Wait, wait -- I did get that star tumbling block top set together in May (or was it June?)! 
And the birds -- I didn't just get them set together, I finished the quilt!!
Extra points!
"And finally, I want to continue to explore piecing designs and offer workshops where quilters can apply the Set-In Piecing Simplified technique featured in my DVD." 
As predicted in January, this has been the easiest goal for me on which to stay focused.
I introduced my pattern, Dresden Stars, in the spring along with a workshop.
I continue to help my students and blog followers learn to recognize when to apply the chain piecing y-seam technique while working with patterns such a Jen Kingwell's Glitter and currently Barbara Brackman's Morris Hexathon.
And I'm currently planning a new two-day workshop for making hexagonal block samplers.
One goal I didn't set but looking back I should have because I've been doing so well at achieving it!!
"To get distracted easily by all sorts of lovely ideas on Instagram."
Nine of my thirty finishes so far this year fall into this category -- and there are a couple more in progress!!  I think I've seen a few quilters refer to this behavior as "proquiltinating".
It's significant that I've finished all of them that I've started!!
Says something for tackling small projects with a high level of excitement!!
There is still 5 months of 2016 left -- but I'm going to put my "list" up on the wall in the studio as a friendly reminder that I do have goals.

In the meantime, we'll all just keep stitching!!

Mary Huey


Friday, July 22, 2016

A Quilt for Comfort

The comfort quilt for Pulse is finished and on it's way to Orlando!
I know some of you are making blocks or tops or quilts for this project because I've seen your blogposts and Instagram posts.  For those who haven't heard about this, the Orlando Modern Quilt Guild is spearheading the collection and they directed interested quilters to Allison at www.cluckclucksew.com who has a tutorial for the heart block in a variety of sizes.

As you can see I did a mix of the sizes.
I auditioned a few prints for the borders but anything with enough color was too kitschy so I settled on a rainbow piano key border using random width strips from the cutting scraps for the hearts.
I assembled them into groups of the six colors and rather than a rainbow order, I paired them by their opposite position on the color wheel -- green next to red, yellow next to blue, orange next to purple -- to get more contrast and sparkle. 
I made the strips 1" longer than needed to allow for wobbles and trimmed them towards the end of process.
I made four more small hearts to turn the corners of the borders and sashed them on what will be the outside edges of each corner -- this is a close-up of the upper left corner heart.
I added a border of the background color and then the pieced borders doing the sides first.
Then I added the background border across the top and bottom from edge to edge as you see below. 
The corner hearts were added to each end of the top and bottom borders with a strip of background aligned to match the side borders.  That took some fiddling and ripping but it was worth it. 
Extending the background border all the way to the edges of the quilt helped float the corner hearts and gives the quilt a unified look.
Simple quilting finished it off.  It is "raining" more hearts onto the surface of the quilt.
I alternated straight lines with curvy lines vertically through the central part of the quilt to maintain a gentle look.
The vertical straight lines have various size hearts inserted randomly. 
A heart is an easy shape to "draw" with your needle.  Once the heart was stitched, I continued on by stitching down through the heart.

Here's one of the 10" hearts with the alternating lines and the random hearts. 
In this photo you can see the alternating wavy and straight lines of the border as I stitch down the last 6" of the binding.
Choosing the binding fabric was probably the most difficult part of making the quilt because of all the color in the quilt and the stripped border.  After making a blue binding which clashed terribly with the backing, I settled on this bright print which was laying on the cutting table for a second Pulse quilt top.
It's been fun to watch the quilts roll in to the Orlando MQG -- they are probably past the 200 mark at this point -- and their Instagram hashtag, #quiltsforpulse is climbing steadily toward 3500 posts.
The Dallas and Ft. Worth Modern Quilt Guilds have started a collection of the heart blocks for #quiltsforpeace -- blue prints with white backgrounds, same tutorial from www.cluckclucksew.com and you can get to the guild website HERE for more information.

Quilters do such a good job of sharing their work and bringing comfort to others!!
Now if we could just get politicians to be so positive.

Mary Huey

Linking up to the third quarter 2016 Finish Along Link-up HERE!!


Monday, July 18, 2016

Morris Hexathon Update, Blocks 10 and 11

The two most recent blocks for Barbara Brackman's Morris Hexathon were simple to construct and even used the same template, #52, from Marti Michell's Set H. 
 
#10, Thames Path sent me to my English walking maps to see if I've walked any part of it -- HERE is the original post.  No, I haven't but I'm thinking it might be a good addition to a list for a future trip!  Here is template #52 on the printout of the block -- as long as the "dashed" lines match the pattern, I'm good to go!
#52 is a multi-shape template and I used "part d" -- it's so helpful that each different shape is labeled!
I chose to use two fabrics and made a short strip set for a quicker finish.  The"dashed" line where I'm pointing indicates the finished seam line of the equilateral triangle unit when it's pieced.
It might be hard to see but the "marking" holes are at each end of the "dashed" line and by lining it up on the seam line of the strip set, I can cut consistent segments.  The strips are a smidge wider than necessary (just in case) but a quick twist of the template enables me to clean that up. 
Then I can twist the template 180 degrees and cut the other segment needed for this block. 
 Here they are ready to stitch up -- no y-seams and the seams are opposing making the matching easy.
 
And here it is sewn together wrong?!?  Moving too quickly never pays off does it?
#11, Merton Mill was named for one of Morris' manufacturing facilities -- HERE is the original post.  Barbara has shared some interesting information about this versatile artist/artisan so even if you aren't interested in making the quilt, you will enjoy reading the posts for their historical information. 
The half equilateral triangle shape used for this block isn't "silhouetted" on the template, but all the lines are there for your use.
Cutting is more consistent when you lay two strips together, right sides facing as shown here. 
Since they are cut together, there is no matching required as long as you don't separate them. 
This photo shows you the shape I cut.  The solid lines represent the edges of the shape with 1/4" seams included.  So the first pair is cut. 
However, when I twisted the template to cut the second pair, I realized that won't work.  After several minutes of "template juggling" I remembered a trick Marti uses with another one of her tools. 
I flipped open the first pair on top of a ruler to determine what size rectangle is needed to cut two pairs of triangles.  It's a 3 1/8" strip, and I need three 2 3/4" sections to cut six pairs of triangles. 
Now I can work from opposite corners of the rectangles.  Here is the first cut. 
And here is the second cut -- just a sliver of a trim off the inside edge and nipping the corners!
I'm ready to stitch!
Once the triangle units were pieced, I auditioned one of the other layout suggestions. 
No, don't like that.
I went a little slower and eliminated the "ripping" step of getting this block together.
Two more blocks finished!!
Barbara shared a diagram of the layout plan in the first post so I arranged them on my design wall for a preview of where this is going.  I think it's time to start digging through the stash for a wonderful print to serve as the plain hexagons between the pieced ones!!
I'll leave you with a photo of King Willie relaxing in the wet grass surveying his kingdom!
I couldn't enjoy my garden without his companionship!
By the way, this post was written to the accompaniment of politicians' jets arriving in Cleveland for the Republican National Convention -- I live under the flight paths of two small airports popular with the private jet set.  Seems like they are arriving at the rate of one every four or five minutes?!
 
Have a stitching good week!!
 
Mary Huey

Thursday, July 14, 2016

And it's another "start"!!

It all starts innocently enough, doesn't it?
You see something cute on Instagram or Pinterest or while reading a blog.
Your brain assures you that "this will be easy" -- look, it's just that simple little block!?!

This is the second step of Eye Candy Quilts' #smorgasblocks that I first saw on Instagram and followed the links to her blog -- check it out HERE if you want to join me.
12 weeks of a bit of this and that -- free patterns from a variety of designers.
Anneliese knows where it's going but it's a surprise to the rest of us!

The stack of 10" squares from a Denyse Schmidt collection singing it's siren song from a shelf in the fabric stash didn't help . . . so what the heck, I'll start it!
That was a pleasant evening's work and it was time to track down the first step in the series.
Uh-oh -- paper piecing!?
But I love, love, love feathered stars and the results that others were posting was captivating.  So I forged ahead.  That cute print with the woman ironing is something from the end of my shop-keeping era, so I know it's at least 12 years old.
I did a bit of "cheating" and used triangle paper to create the necessary triangle sets.
Felt faster even though each one had to be trimmed down. 
I took this sequence of pictures to show how I was taught to use the "add-a-quarter" tool many years ago.  I've just stitched this line and now I line up a stiff card against the line.
Then I fold back that section of paper against the card. 
The tool is positioned with the raised lip against the edge of the card. 
And I trim along the edge of the tool leaving 1/4" of the fabric. 
Now the paper is flipped back out and the next piece is easier to position along the trimmed edge. 
If you search on YouTube for videos about using the Add-A-Quarter tool, you'll find several. 

I had one small set back -- can you see what I did?
Cut off the seam allowance during the trimming of the sections -- twice!?! -- grrrrr.
Fortunately, it was an easy fix and I didn't have to make to entire unit over from scratch.
The result of several evenings work is this stunning 12" block which has gotten rave reviews on Instagram! 
Okay, so paper piecing has it's advantages.
 
The third pattern for the series is a pyramid and also uses paper piecing. 
One of the things that I don't like about paper piecing is the challenge of keeping grain lines straight.  So I made an extra copy of the pattern and cut it apart with my rotary cutter as you see.
Now I can use that as a pattern but it only works if its laid on the backside of the fabric. 
I rough cut with scissors and add generous seam allowances -- about 3/8".
And here are two of the four -- love the fussy cut motifs -- everything is straight and the grain lines are "right".  I was all caught up and anxiously waiting for the fourth part and hoping it would be regular piecing?!?
Not exactly, but it's an interesting block. There was some paper piecing and the curves were gentle -- I can do curves!!
Plus at this point, I'm pulling fabric from all over my stash doing my favorite thing about piecing -- auditioning fabrics!!  I'm pushing the envelope trying to make current prints work with prints from my 35 year stash of fabric -- blending various "styles".
And there's the block??  I would never have attempted this block but it's works!
And here they all are living harmoniously on my design wall!  Still no idea where this is going but taking the risk of following a mystery type project always leads to discoveries -- even the frustrating bits teach us something about our preferences and skills.
Can't wait for part 5 (though I do hope there is no paper piecing this week)!

To see other quilters' version, check it out on Instagram -- #smorgasblocks is the hashtag!
If you don't have a smart phone, you can view Instagram at www.instagram.com

Mary Huey